What Should You Know Before and After a Lip Blush Procedure
You booked your lip blush appointment and felt excited. But then your mind is flooded with questions like:
“Will it hurt?”
“How long will it last?”
“Do I need to do anything special before the appointment?”
It’s tricky to figure out all these things by lip blush treatment on your own. But at the same time, you should know about lip blushing before and after. There are things to keep in mind before the appointment, and there are things to follow afterward to make the lip blush healing process smooth.
It might feel like a lot to you, but it’s not. To make it clear, here’s what every first-timer should know before and after getting lip blush.
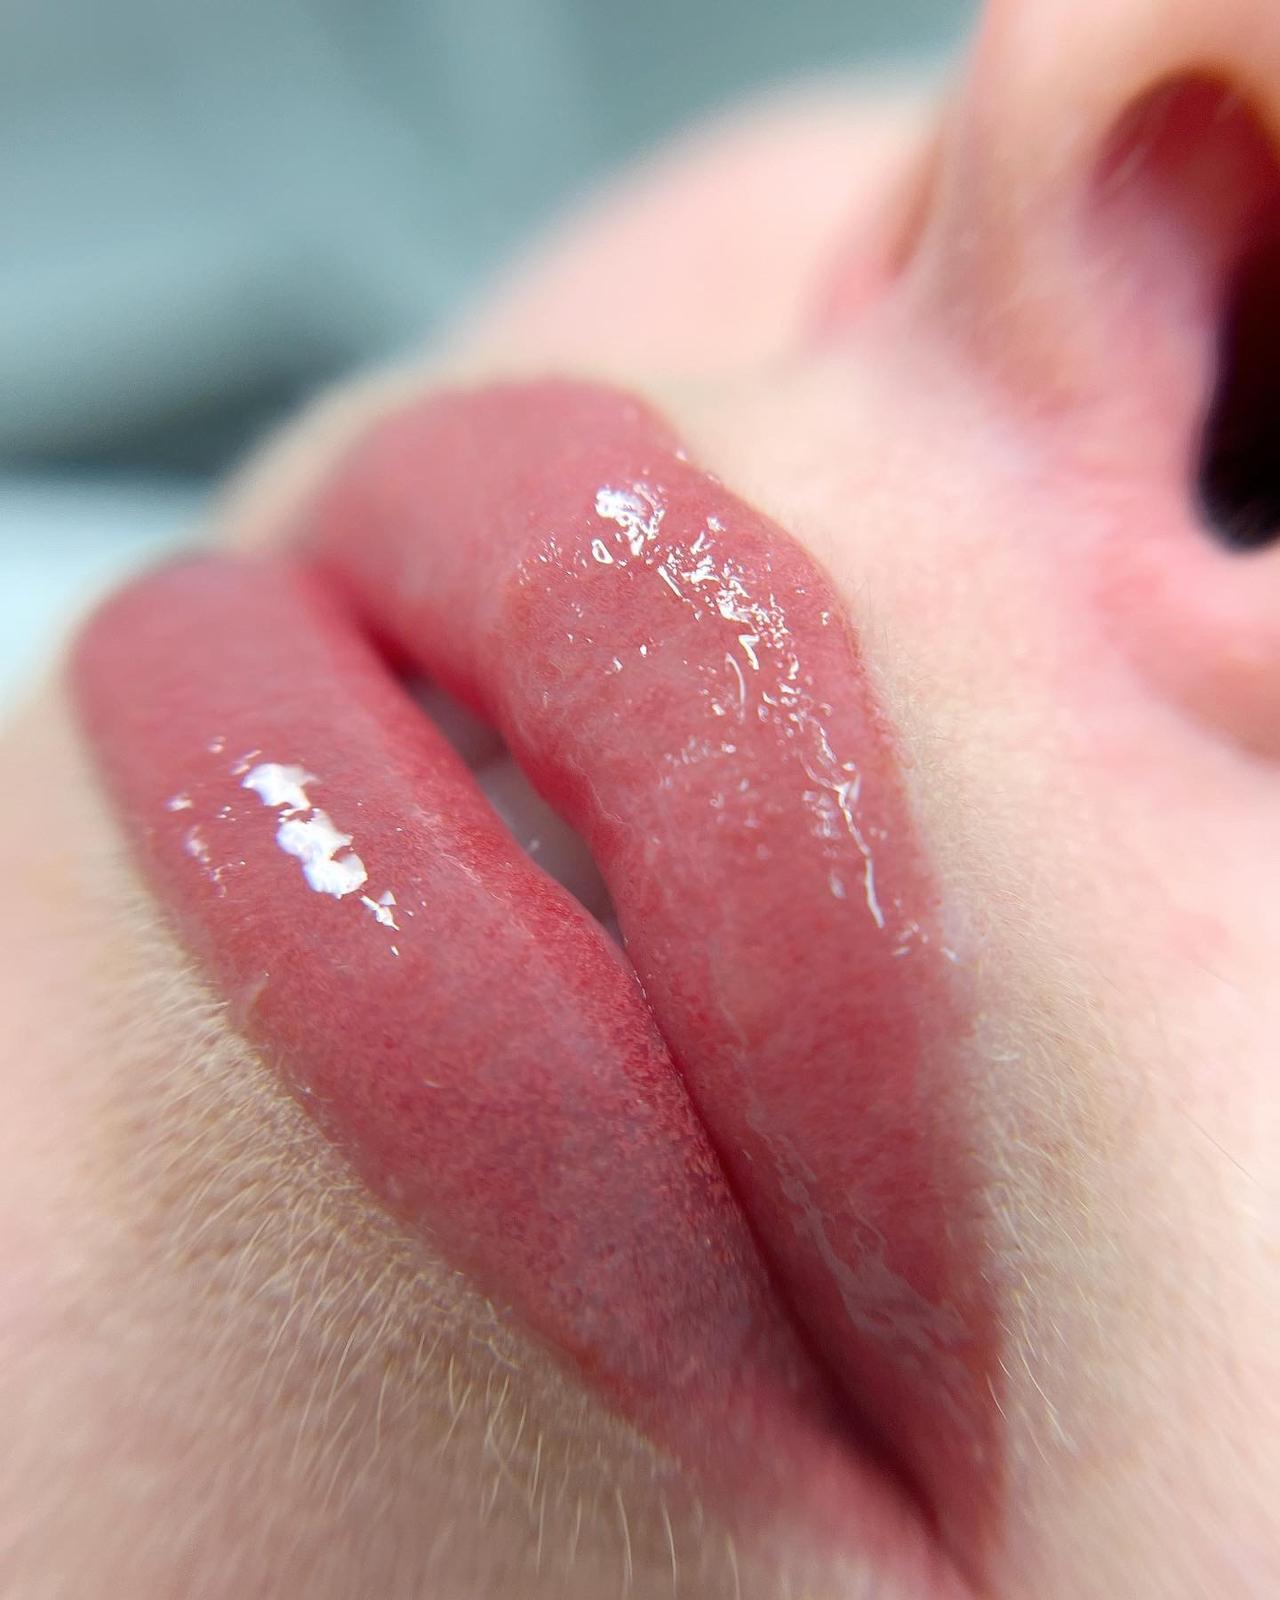
What Is Lip Blush Tattoo
It’s pretty simple. A lip blush tattoo adds a soft, natural tint to your lips. It keeps them looking fresh and alive without touching up every few hours. Tiny amounts of pigment are gently applied to even out color, shape the lips, and give that little pop that makes your smile shine. It’s subtle, not overdone, just a flattering tint that lasts.
That’s why so many people are loving lip blushing in Sarasota. It keeps lips looking polished and effortless without reaching for lipstick all the time.
What to Know Before a Lip Blush Procedure
1. Preparing Your Lips for the Appointment
Getting ready for lip blush isn’t tricky, but a few little steps make a big difference. A few days before:
- Gently exfoliate your lips. Just don’t so the harsh scrubs or you’ll end up with flakes.
- Drink plenty of water to make your lips stay soft and color sinks in better.
- Avoid alcohol, caffeine, or any blood-thinning meds the day before (healing gets easier this way)
2. Who Is a Good Candidate
Lip blush works best for people who want their lips to look fresh without heavy color. Some easy examples:
- Pale or uneven lips that need a little pick-me-up
- Anyone wanting a soft, natural tint or a bit more shape and definition
A few folks should hold off for now: anyone who’s pregnant, breastfeeding, or has active skin issues around the lips (better safe than sorry).
3. Choosing the Right Artist
Choosing who does your lip blush is a big deal. So, go with someone licensed, experienced, and careful. Pigments and sterile tools aren’t just fancy talk because they affect how your color settles.
When you look at the photos, focus on healed results instead of the “fresh from the chair” shots. A great artist will make sure your lips look polished, natural, and stay that way longer.
4. The Procedure Step by Step:
Consultation and Color Matching
This is where you and your artist get on the same page. They’ll look at your lips, your skin tone, and suggest shades that feel natural but still give you a boost. You can play around with options until you’re happy. It’s not a quick “pick and go” moment.
Numbing Cream Application
Before any tattooing happens, a numbing cream goes on. This keeps your lips comfy during the process. You’ll feel a little tingle, maybe a soft pressure, but nothing sharp or crazy.
Tattooing Process
The pigment is added in light layers, not all at once. The artist works slowly to make sure your lips end up with a smooth, even tint. It’s gentle and gradual, giving you a natural, polished look instead of one heavy slab of color.
Duration of Procedure
Plan on about 2 to 3 hours for the whole thing. This includes the consultation, numbing, and the tattooing itself. It’s long enough to get things done right, but not so long that you’re fidgeting in the chair the whole time.
What to Expect Immediately After Lip Blush
1. Right After the Appointment
Fresh out of the chair, your lips won’t look “settled” yet. They’ll be more vibrant, sometimes even darker than you expected. Mild puffiness or tenderness can pop up too, but it’s temporary. Your artist will smooth on some healing balm before you walk out, keeping your lips protected while the color starts doing its thing. It’s all part of the early stage of lip blush procedure.
2. The Healing Timeline
Lip blush doesn’t stay the same from day one, it changes a bit as your lips heal. Here’s the usual play-by-play.
Day 1–2
Your lips are going to look a lot bolder than expected. The color comes out strong and you might notice a little puffiness too. Totally normal.
Day 3–5
Now comes the peeling. Tiny flakes or scabs show up, and the color underneath looks lighter. It can feel like it’s fading away, but it’s just part of the process.
Day 6–10
This stage can be tricky. The lips often look washed out, like the color has disappeared. Don’t panic, the pigment is still in there, it just needs time to show.
Week 4–6
This is the fun part. The shade evens out, softens, and you finally see that natural tint you’ve been waiting for. That’s when the lip blush really comes to life.
3. Touch-Up Sessions
A touch-up session is where your lip blush really comes together. Done about 6–8 weeks later, it gives the artist a chance to see how your lips healed and where the pigment might need a boost.
Sometimes, certain spots fade quicker or heal lighter than others. That’s normal. The touch-up balances everything out, adds depth to the color, and refines the shape so it looks more polished.
That little extra session is why lip blushing in Sarasota has such a reputation for looking effortless and lasting longer without extra work on your part.
Little Rules for Happy, Healed Lips
To get the best out of your lip blush treatment, here’s what matters most during the healing stage:
Balm up often so your lips never feel dry.
Skip lip makeup and don’t touch or peel scabs.
No sweaty gym sessions, steam rooms, or swimming while things settle.
Wash gently, nothing too intense.
When healed, use SPF lip balm daily. That’s what keeps the color fresh and shows off the lip blushing before and after difference.
All the Things People Wonder About Lip Blush
Does lip blush hurt?
Not as much as you’d expect. Most artists use a numbing cream, so it feels more like light scratching than anything unbearable. Some people even say they got so used to it, they almost dozed off.
How natural will it look?
That depends on what you want. Lip blushing before and after photos usually show a soft tint rather than a full “lipstick” effect. It’s more about enhancing your natural color, not replacing your makeup stash.
Can I still wear lipstick after lip blush?
Absolutely. Once you’re healed, you can wear any shade you love. The lip blush just gives you a pretty base, so your lipstick pops even more.
What if I get cold sores?
Cold sores can flare up, but your artist will usually suggest taking preventive meds if you’re prone to them. That way, you heal smoothly.
Is lip blush safe for darker skin tones?
Yes, it is. Artists just adjust pigment choices so the result looks even and flattering.
Will it make my lips look bigger?
Not technically, but it can create the illusion of fuller lips. That natural definition and colour shift make them look more “awake.”
When You’re Ready, We’re Here
A simple tint, a little patience with healing, and suddenly your lips have that natural magic you’ve always wanted. The lip blushing before and after glow-up is real, but what really matters is how it makes you feel, like you’re finally showing up as the best version of yourself.
And if you’ve been waiting for a sign to finally do it, this is it. Lash Boutique is here with steady hands, expert care, and a whole lot of heart.