August 2025 - Lashboutiquefl

How to Clean Lash Extensions Without Damaging Them

You know you should be cleaning your lash extensions… but every time you do, a tiny panic sets in.

Like, what if you scrub too hard? Or use the wrong thing? Or worse, make them fall out before the weekend?

Totally normal. Most people avoid cleaning their lashes because they think it’s safer to just leave them alone. But actually, not cleaning them is what shortens their life and can mess with your natural lashes too. Dirt, oil, leftover makeup, all of that builds up fast, especially if you’re wearing professional lash extensions that are meant to last.

The good news? It’s so much easier than it seems. You just need the right eyelash cleanser, the right touch, and a couple of tricks that make cleaning eyelash extensions feel like second nature.

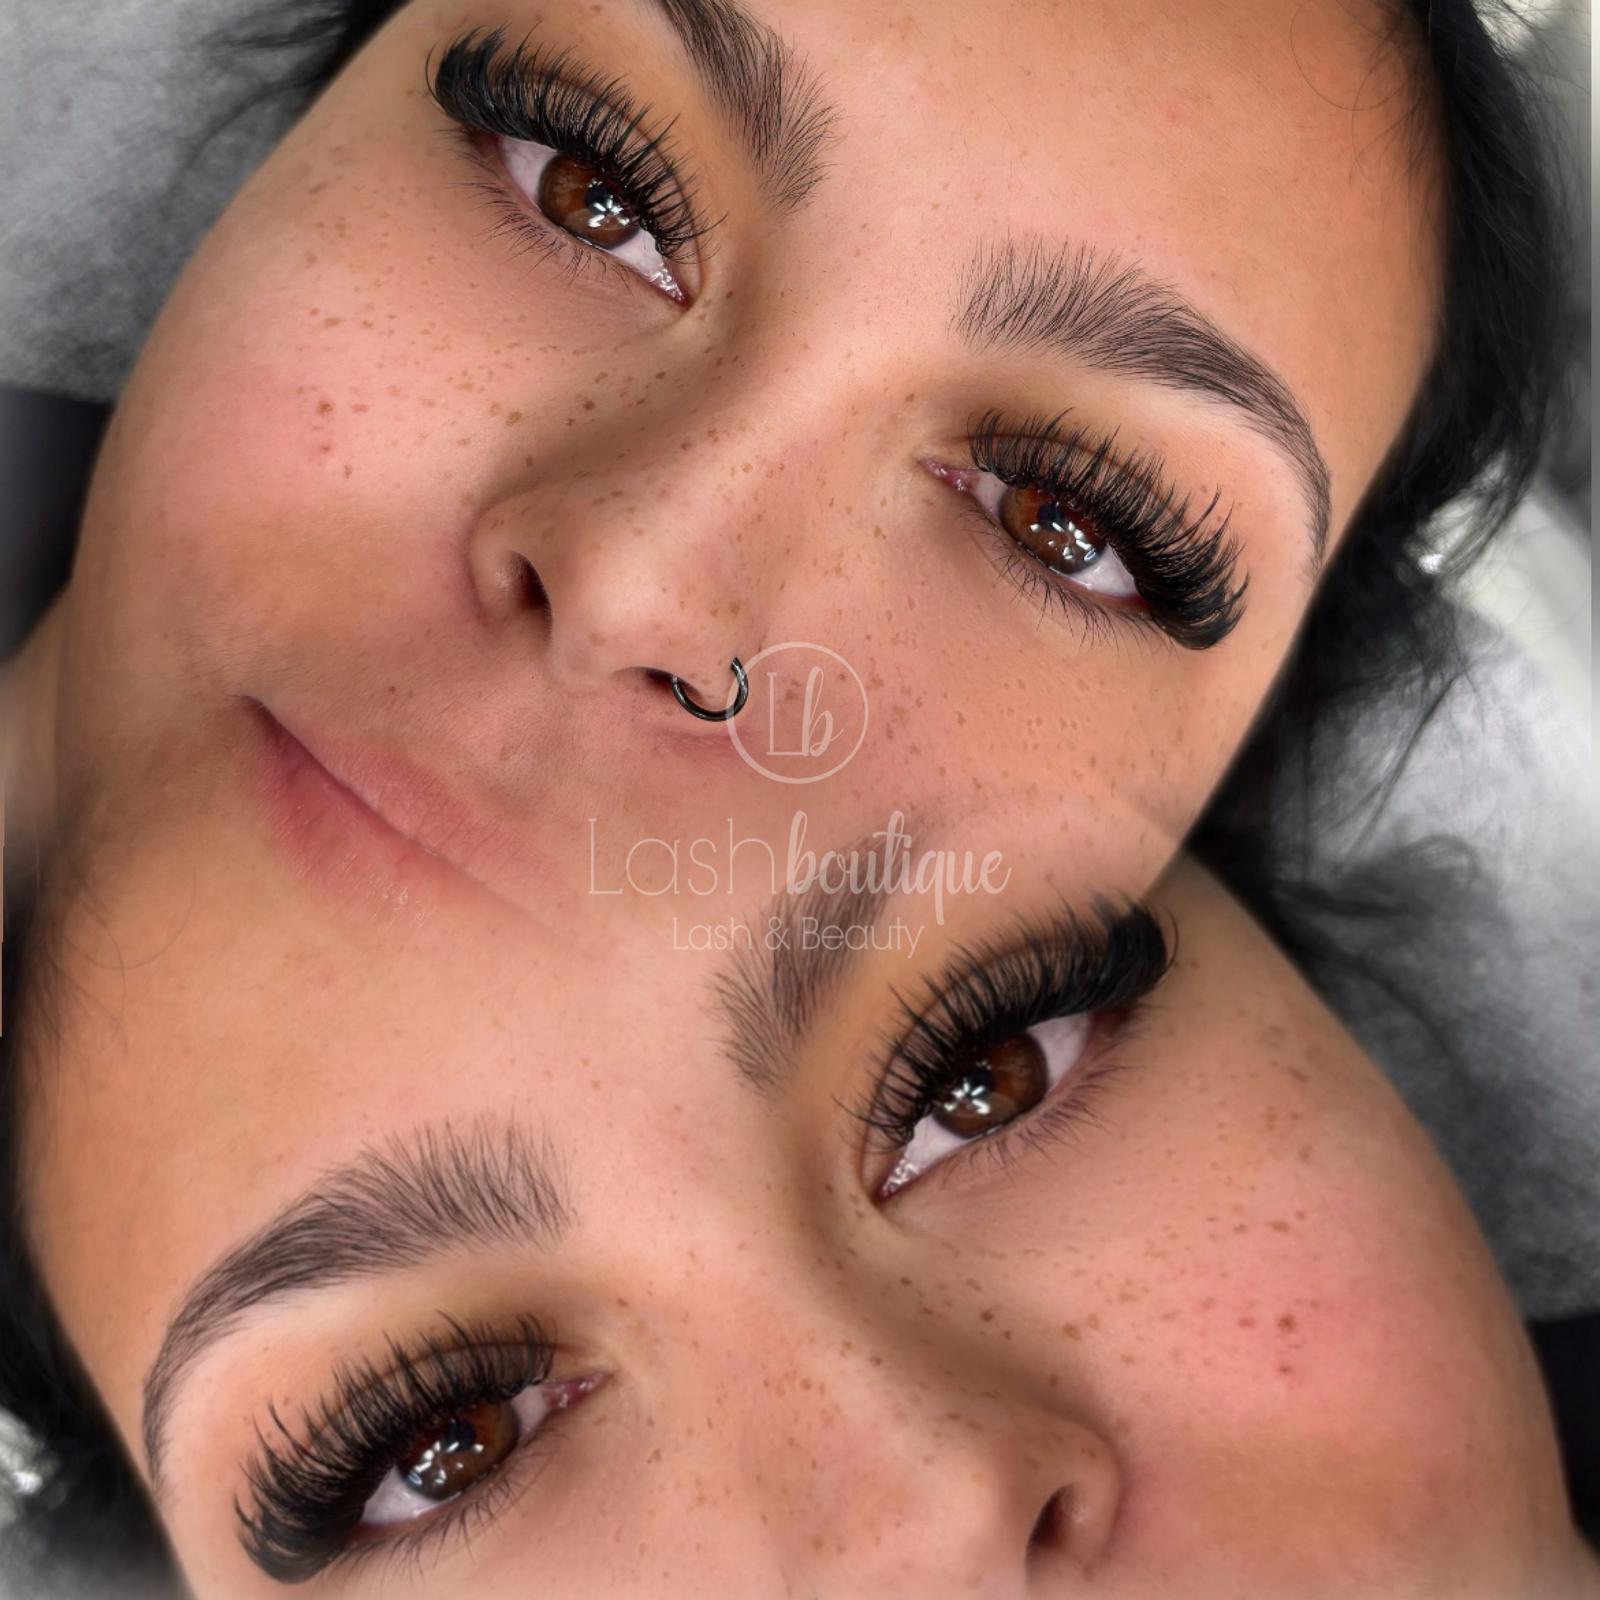
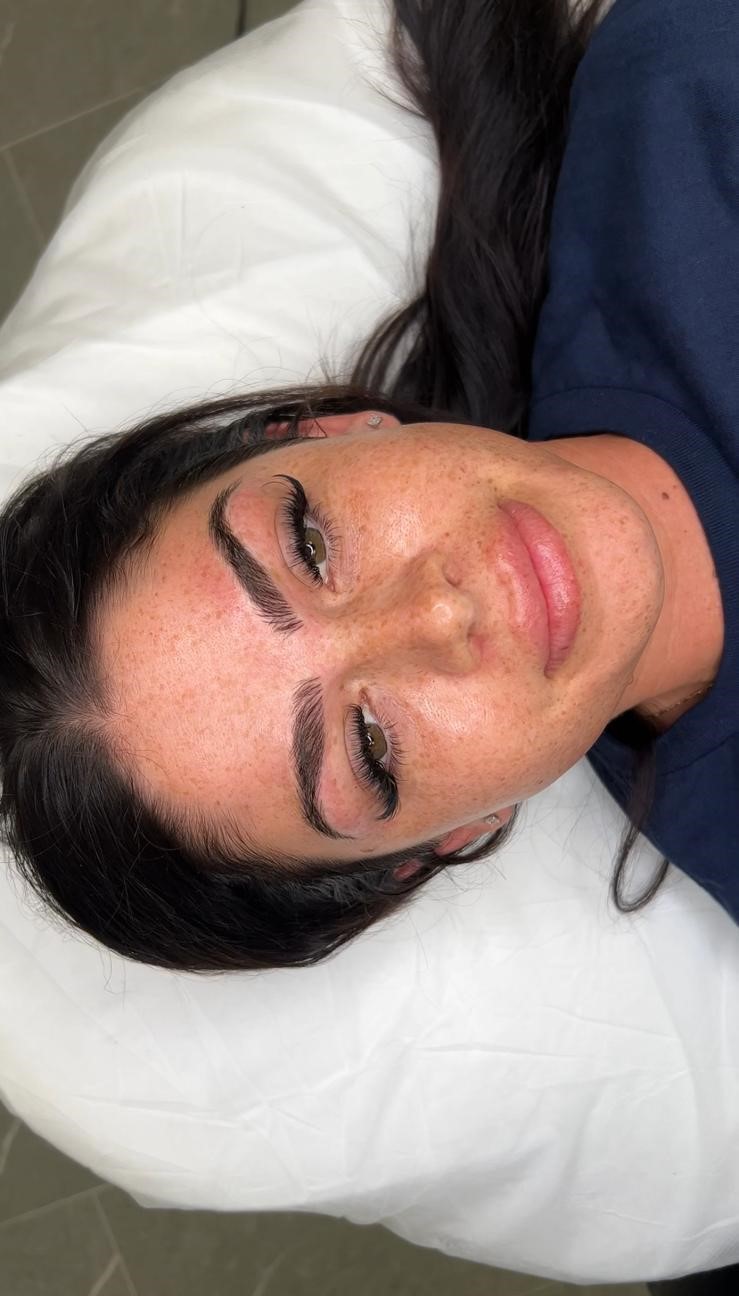
This one’s all about keeping your lash extensions clean and actually making them last.

Why Does Cleaning Your Eyelash Extensions Matter?

1. It clears out the gunk

Everyday stuff like makeup and face oil can build up near your lashes. If you don’t clean it off, it just sits there and makes your extensions look weighed down. A little cleansing keeps them looking their best.

2. It keeps irritation away

Nobody talks about this, but dirty lash lines can be the reason your eyes feel itchy or puffy. You think it’s allergies, but nope, it’s probably old makeup and grime. A gentle cleanse can seriously make a difference.

3. It helps your lashes stick around longer

If you want your easy eyelash extensions to actually last, this part matters. When lashes are clean, the adhesive stays strong. Oil and makeup leftovers can slowly weaken the bond and cause premature fall-out. Clean lashes mean longer wear between fills.

4. It keeps them fluffy, not flat

You know that soft, fluffy lash look that makes you feel put together with zero effort? That fades fast when your lashes are dirty. A gentle cleanse helps keep each lash separated, lifted, and photo-ready, even if you’re just running errands.

Products You Should and Shouldn’t Use for Lash Extensions Cleaning


DO USE:

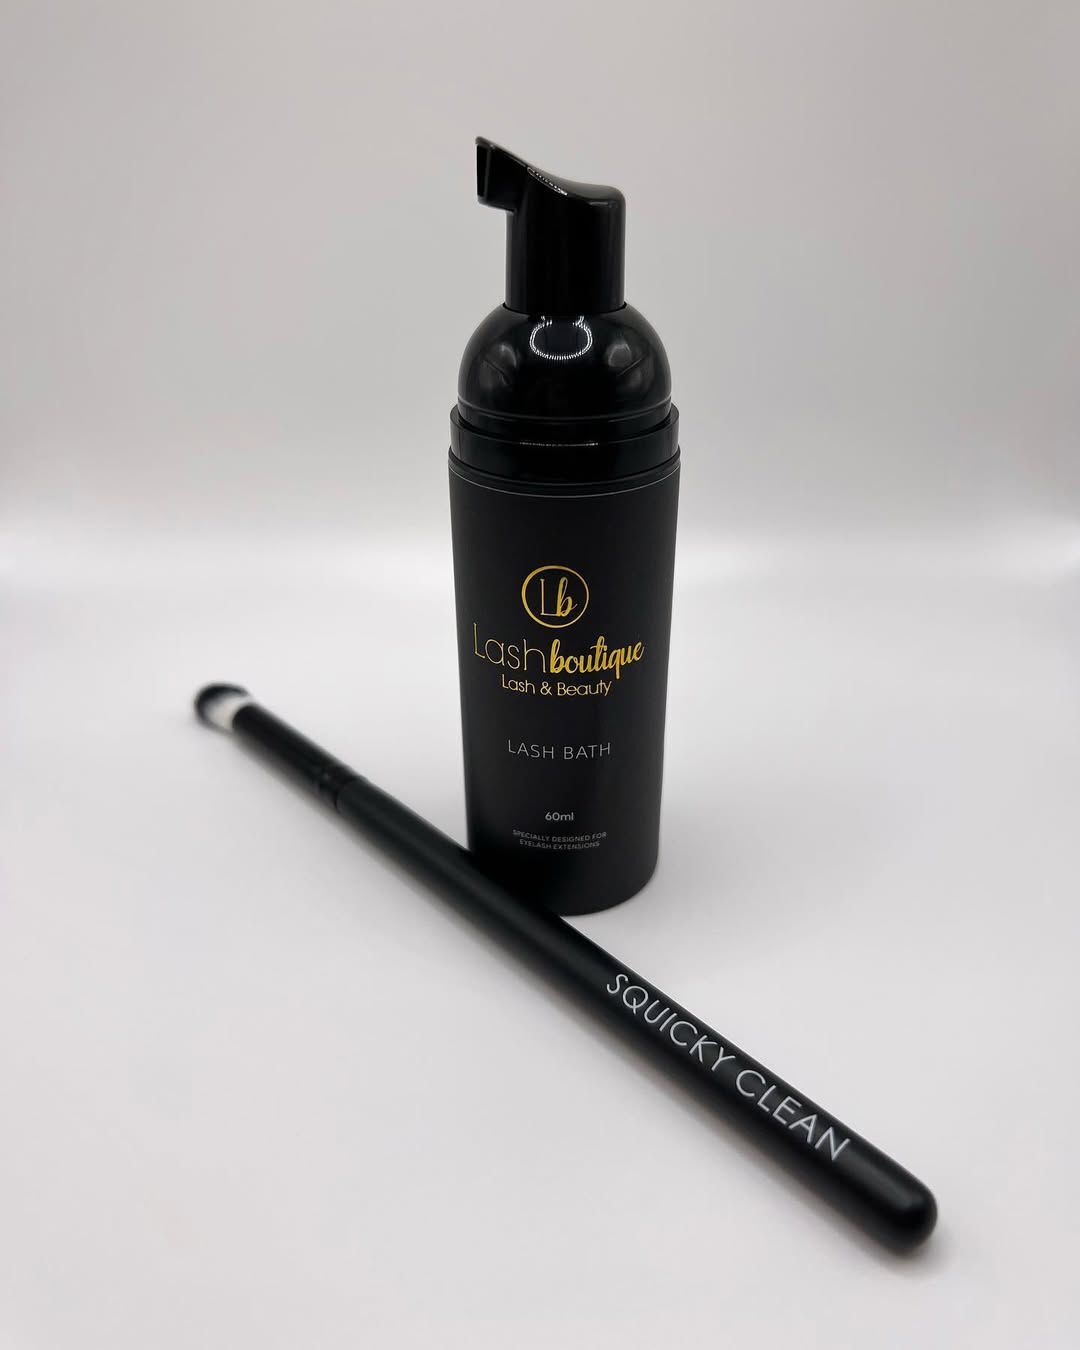
Lash Extension Cleanser

If you’re wearing professional lash extensions, this is your must-have. A proper lash-safe, oil-free eyelash cleanser is made to clean without messing with the glue. It lifts away oils, makeup, and gunk from the lash line, keeping everything clean and comfy. If you’ve got Lash Extensions in Sarasota, this is pretty much your first line of defense.

Soft Bristle Brush

Your fingers won’t cut it here. Use a soft, lash-friendly cleansing brush to get in there properly. These brushes are made to sweep along the lash line without snagging or pulling. It’s basically a mini spa moment for your lashes every night, and yes, it’s oddly satisfying.

Clean Water or Saline

After you clean your lashes, don’t skip the rinse. Use clean water or saline to wash away anything that’s still clinging on. It may seem small, but if you’ve had a sweaty day or salty breeze in Sarasota, it keeps your lash line feeling light and fresh.

AVOID:

Oil-Based Products

Anything with oil is your lash glue’s worst enemy. That creamy eye makeup remover or “hydrating” cleanser might feel nice, but it’ll cause your lashes to pop off early. Not worth it if you want them to last.

Cotton Pads or Wipes

These seem harmless… until you’re picking lint off your lashes for ten minutes. Cotton leaves behind tiny fibres that get tangled in your lashes and cause irritation. It’s a total pain.

Harsh Soaps, Micellar Water, or Regular Makeup Removers

These are way too aggressive. Micellar water sounds gentle, but most formulas aren’t safe for lash extensions. Harsh cleansers can sting, dry you out, or slowly weaken the adhesive. That’s not how to clean eyelash extensions properly, so save these for your no-lash days.

Step-by-Step: How to Clean Eyelash Extensions Properly

Step 1: Wash your hands like you mean it

This step gets skipped more often than you’d expect. Your hands touch everything all day long, from your phone to your face cream. That’s not what you want ending up on your lash extensions. So, before you touch your lashes, scrub your hands like you’re about to perform surgery. Twenty seconds. Soap up. No shortcuts.

Step 2: Grab your lash brush and cleanser

Use a clean lash brush with soft bristles, not that old one coated in who-knows-what. One pump of cleanser is plenty to get in there and treat your lashes right.

Step 3: Gently sweep, don’t scrub

Look up, close your eyes just a bit, and use light downward strokes with your lash brush. There’s no need to press hard. Just a gentle sweep to lift away dirt and oil. This keeps your lash extensions neat without pulling on the glue. Being extra gentle here keeps your extensions intact, clean, and looking just as flawless as the day you got them.

Step 4: Rinse carefully with clean water or saline

Skip the dramatic face splashes. Instead, cup clean water in your hands and lightly rinse the area. You can also use sterile saline if you’ve been sweating or after a beach day. This step removes any leftover cleanser without disturbing the extensions.

Step 5: Pat your lashes dry

Let your lashes stay intact. Use a lint-free towel or tissue to gently pat around your eyes. Avoid rubbing. Just press, hold, and release to soak up any extra water.

Step 6: Fluff and separate

Now bring out your clean spoolie and give your lashes a quick brush. This resets their shape and keeps them from clumping after getting wet. It helps them perk up and look their best before you step out.

Common Lash Mistakes and What to Do Instead

Don’t Do This Do This Instead
Rub your eyes while cleansing Gently sweep downward using a soft, clean lash brush.
Avoid makeup wipes and baby shampoo altogether. Choose an oil-free, lash extension-safe cleanser designed specifically for eye use.
Sleep with unwashed lashes Cleanse your lashes before bed to avoid buildup and irritation
Avoid washing out of fear they’ll fall off Clean regularly, as it actually helps extensions last longer


And That’s a Wrap

See? Not so intimidating after all. Keeping lash extensions clean doesn’t have to be hard. A little consistency, the right cleanser, and a soft touch go a long way. Clean lashes last longer and feel more comfortable too. If you want them to stay looking fresh day after day, gentle care is the key. Start simple, and your lashes will do the rest.

Need a fresh set or just want yours to look next-level flawless? Lash Boutique in Sarasota has you covered with expert application and lash-safe products that help keep those beauties looking amazing between fills.

Not sure which lash extension type or shape suits you best? Check out this complete guide to lash extensions for every eye shape and style, or just visit us at Lash Boutique and we’ll help you find your perfect match.

Does Weather Impact How Your Lash Extensions Last?

You step outside, and your lashes feel… different. Is it the weather?

Dry air, sweaty days, or that weird in-between season, it all matters a little. But it doesn’t mean your lashes are doomed. Long-lasting lash extensions are totally possible if you know how to adjust your routine just a bit.

A few small changes in lash extension care can keep your natural lash extensions looking fresh, full, and fabulous through it all.

In this blog, we’re unpacking how different weather patterns can affect your lash treatment and what you can do to make your lashes last even longer.

How Lash Extensions Work and What Keeps Them Going

Lash extensions might look effortless, but behind those fluttery results is a pretty precise process. Each extension is bonded to a single natural lash using a special adhesive that’s made to last through your daily routine. A typical lash treatment takes about 90 minutes, and if it’s done by a pro offering lash extensions in Sarasota, you’ll barely feel a thing.

If you want your lash extensions to actually last, aftercare is key. Simple habits like soft washing, no steam for 24 hours, and mindful sleep positions really make a difference.

Now, what does “normal” lash retention even mean?

You’ll usually get 4 to 6 weeks out of your extensions, give or take, depending on your lash growth and aftercare routine. Some people start noticing gaps around week 3, which is when a refill is usually recommended.

Here are a few things that can mess with your lash retention before we even bring up weather:

  • Using oil-based skincare or makeup removers
  • Rubbing or tugging at your eyes (especially when tired)
  • Not cleansing your lashes properly
  • Sleeping face-down on your pillow
  • Applying mascara over extensions
  • Skipping touch-up appointments

How Different Weather Affects Lash Extensions

1. Hot & Humid Climates

If you live somewhere like Sarasota, you already know that summer doesn’t play around. The heat and humidity can sneak up on your lash extensions more than you’d think. When the air’s extra humid, lash glue tends to cure a little faster. That might sound like a good thing, but it can actually weaken the hold if it’s not applied by a pro who knows how to adjust for the seasonal changes.

Sweat and natural oils don’t help either. They break down the glue over time, which means your beautiful lashes may start falling off way sooner than expected.

So if you’re dealing with heat and moisture daily and wondering why your long-lasting lash extensions are, well, not lasting, it could be the climate more than you.

A Few Easy Fixes:

  • Use an oil-free lash cleanser to gently remove sweat or makeup without messing with your lash line.
  • Blot (don’t rub!) your face, especially on extra hot days, to reduce oil build-up near the lashes.
  • Mention the weather to your artist. They’ll choose an adhesive that works great in humid settings. It’s one of the perks of getting your lash treatment from a pro.

So yes, long-lasting lash extensions are totally doable in warm weather. It’s just about giving them a little more love.

2. Cold & Dry Conditions

Cold air can be a little greedy with moisture. It dries out your skin, and yep, your lashes can feel it too. But don’t stress. Your extensions won’t fall off just because it’s winter. They just need a bit of extra love.

In cooler weather, the glue used during your lash treatment takes a bit longer to dry. Your lash tech will usually handle it without you even knowing. What you might feel, though, is a bit more dryness around your eyes. Maybe they’re itchier than usual, or your lashes feel less soft. Totally normal.

What Actually Helps:

  • Try a gentle, lash-safe hydrating mist when things feel dry
  • Sit away from the heater blasting in your face (your lashes will thank you)
  • Dab on a little oil-free eye cream to keep that area comfy

Chilly season doesn’t have to mess with your lash vibe. Just swap in some extra moisture, and your extensions will stay full and fluttery no matter how frosty it gets outside.

3. Rainy or Moist Weather

If you fear that rain is going to ruin your lashes, then it’s not. They won’t fall off the moment you step outside. Usually, after 24 hours, your lash treatment gets fully set, and it can handle a little drizzle without a problem.

But when the weather stays damp all day, like misty mornings, umbrella splashes, or that sticky post-rain air, your lashes might stay wetter for longer; that’s where the problem begins. And no, it’s not the rain itself that causes issues. It’s repeated exposure to moisture without proper drying that can slowly wear down the adhesive over time.

Quick Fixes That Help:

  • Pat, don’t rub. After getting wet, gently blot your lashes dry using a clean, lint-free towel.
  • Hands off. Resist the urge to mess with damp lashes as they’re a little more delicate when wet.
  • Portable lash fans are a thing. If you’re serious about lash extension care, these little gadgets help dry your lashes fast on humid days.

What Clients Always Ask Us About Lash Extensions and the Weather

We get tons of questions about lashes and the seasons, and here’s what our owner and lash artist, Kristina, tells clients all the time.

“Do lash extensions fall off faster in summer?”

Hot days and sunscreen can mess with the lash glue a bit, yeah. But it’s not a big deal if you know what to do. I always suggest using a gentle, oil-free cleanser at night and avoiding too much rubbing. Honestly, once you get into that habit, summer won’t mess with your lash game at all.

“Can cold air make my lash extensions fall off?”

Not right away. But when the air gets really cold, it can make your skin and lashes feel dry. If that happens, the lash glue might not stay strong for long. I always tell my clients to use a soft mist that keeps the lashes happy and not dry. It feels nice and helps your lashes stay on longer.

“Do I need to change my lash care routine during winter?”

In winter, a small change helps a lot. If your skin feels dry from heaters, try a gentle eye cream or lash-safe mist. It keeps the area comfy and helps your extensions stay put.

“How do I keep my lashes safe on vacation?”

On vacation? Just rinse after swimming, gently pat lashes dry, and skip oily products near your eyes. That’s all it takes to keep your extensions fresh and fab the whole trip.

Rain or Shine, Your Lashes Are Safe With Us

Weather might play a small role, but it’s really how you care for your lashes that makes the biggest difference. With the right routine and a little expert help, your extensions can stay full, soft, and flawless through heat, cold, or rain.

At Lash Boutique in Sarasota, we adjust every lash treatment to suit your needs and the local climate. So no matter what the forecast says, we’ve got your lashes covered.

Book your lash appointment with us today and experience the difference Sarasota’s trusted lash experts can make.

What Are the Most Common Mistakes After Getting Microblading?

So, you finally got your brows done with Microblading? Check. You’re probably feeling a mix of excitement and relief for your microblading before and after result (and maybe checking your reflection every few minutes—totally normal).

But here’s the part not everyone talks about…

After the treatment, proper healing becomes a must. It does play an important role in the flawless look of microblading, and the good healing is a result of proper aftercare. But if you do not care for them, your end look could go with patchy spots, faded color, or results that just do not last the way they should.

And the wild part is that a lot of the damage happens because of tiny, everyday mistakes, stuff you wouldn’t even think twice about. So let’s walk through the common ones. That way, you know exactly what not to do (and your brows stay looking fresh for as long as possible).

Why This Part Matters So Much

Microblading isn’t just a “get it done and go” kind of treatment. Your skin’s healing, the pigment is settling, and for the first week or two, your brows are in that fragile in-between stage.

Some people start peeling, some feel itchy, and some panic because their brows look too dark or too light—it happens. But almost all of the problems we see later? They usually start from aftercare that went a bit off track.

And hey, that’s what this blog is here for. Just to make sure you know the little things to avoid for the long-term effects of microblading eyebrows (and trust me, they’re easy fixes).

1. Touching Your Brows All the Time

This one’s first for a reason.

Touching your brows (especially with unwashed hands) can mess things up big time, even if they feel dry or itchy, even if there’s a flake that’s begging to be picked.

Please don’t do it.

Peeling off scabs early or scratching the area can pull out pigment that hasn’t finished setting in. And the bacteria that your hands carry around constantly. No thanks!

What to do instead: Let the scabs fall off naturally. If things feel itchy, tap lightly or apply your aftercare balm (only the one your brow artist gave you).

2. Getting Them Wet Too Soon

Water might seem harmless, but fresh brows and moisture? Not a great match.

Showering, swimming, sweating, washing your face too close to your brows—it can all affect how the pigment settles. The strokes can blur or fade faster than expected.

What to do instead: Keep them dry for at least a week. If you’re washing your face, use a cotton pad around the brows. Need to shower, then try a visor or hold a towel over your forehead to keep water off.

3. Using Products You Think Are Fine (But Aren’t)

You might love your skincare routine, but right after the microblading procedure, it needs a break.

Some products (like ones with retinol, acids, or strong oils) are way too harsh for healing skin. They can cause fading or irritation without you even noticing right away.

What to do instead: Just use what your artist recommends. Skip activities for a bit. Think gentle, plain, and boring. Your skin will thank you.

4. Skipping the Healing Balm (Or Using Random Ones)

Here’s the thing—your brows do need moisture while they heal, but not just any product.

Some people skip the balm completely. Others grab whatever’s in the bathroom cabinet. But petroleum jelly or perfumed lotions? Not the best idea. Too much moisture or the wrong kind of product can cause clogged pores or uneven healing.

What to do instead: Use the balm your brow tech gave you. And don’t overdo it—a small amount goes a long way.

5. Exercising Too Soon

If you’re a regular at the gym, this one might be tough.

Sweat can mess with healing skin. It’s salty, it drips right into your brows, and it can make pigment fade quicker than it should.

What to do instead: Take a workout break for at least 7–10 days. Skip the steam rooms, saunas, hot yoga—anything that gets you sweaty. It’s temporary. Your brows are worth it.

6. Too Much Sun, Too Early

Sunlight fades pigment – it’s that simple.

Even a quick walk outside without protection can have an effect, especially during the first two weeks. And if you’re someone who loves tanning beds, you’ll want to avoid those completely while you’re healing.

What to do instead: Stay shaded and wear a wide hat. Stay indoors if you can. Plus, once you’re fully healed, always use SPF around the brow area.

7. Wearing Makeup on or Around the Brows

You might be tempted to cover redness or use a pencil to “perfect” your brows while they’re healing, but makeup and healing skin don’t mix well.

Bacteria in brushes or makeup products can cause infection, even if they look clean. Not to mention, wiping off makeup at night can rub your brows too hard.

What to do instead: No makeup on or near your brows for at least 10–14 days. Focus on your eyes or lips instead, you will still look amazing.

How to Stay On Track

Here’s what works (and keeps things simple):

  • Follow the guide your artist gave you – They know what’s best for your skin and their technique.
  • Don’t panic during the weird stages – Your brows might look too dark, then too light, then just right. That’s all part of the process.
  • Don’t compare your healing to someone else’s – Everyone’s skin heals a little differently.
  • Take photos every few days – You’ll notice how much it changes—even if it feels slow in the moment.
  • Sleep on your back – Your pillow can rub or press against your brows, especially if you sleep on your stomach or side.

And if you’re ever unsure about anything? Call or message your brow artist. At Lash Boutique, we love it when clients ask questions. It means you care about your results as much as we do.

One Last Thing…

Microblading gives you bold, beautiful brows—but the magic doesn’t stop at the salon.

Taking care of your brows afterward is what makes the results really last. And the best part is that it’s not hard. You just need to be a little extra careful for a few days. Avoid these common mistakes, be gentle with your skin, and trust the process. Your brows will go through a few changes as they heal, but if you treat them right, they’ll look incredible in the end.

Need a touch-up later? Or still have questions about your healing brow microbalding in Sarasota? Reach out to us at Lash Boutique anytime. We’re here for every step of your brow journey.